In this page, you will learn how to add printers for job accounting.
Printer accounting methods
|
SNMP |
In this accounting method, NDD Print MF Kyocera requests information about jobs performed on the equipment that are located in its MIB |
|---|---|
|
Web |
In this accounting method, NDD Print MF Kyocera fetches the data of the jobs carried out via the HTTP protocol from predefined locations on the equipment's web interface. |
Before you start
-
Make sure to go to Configuring the Kyocera n-MF.
Step 1: Prepare the printer
Before adding the device to the Kyocera n-MF, it is essential to configure it beforehand to ensure that accounting works correctly.
Identifying users when printing
User identification on printouts is carried out by the device's driver. Make sure that the driver used is the correct one for the model of device.
If the user is not identified by the driver, the prints will be identified with the Other user.
Identifying users when copying and scanning
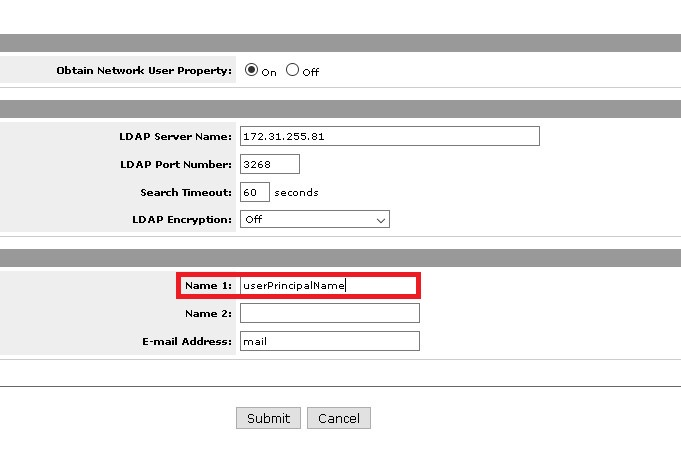
NDD Print MF Kyocera counts users according to the printer's authentication configuration. This authentication can be done through Active Directory or local accounts.
As each printer model has specific settings, consult the manual for your model for detailed guidance.
Configuration example in a TaskAlfa 520i:
Configuring the date and time for jobs
This setting only applies to TaskAlfa models.
For TaskAlfa printers, the NDD Print MF Kyocera registers the job date (day/month/year) according to the date of the computer on which it is installed. However, the time is recorded based on the printer's own time setting, so the printer's time zone must be set to Greenwich (00:00).
Configuring the HTTP and HTTPS protocol
For NDD Print MF Kyocera to be able to search for job information, the security protocol must be configured as HTTP and HTTPS.
Configuration example in a TaskAlfa 520i:

Configuring job log display
For jobs to be captured by the NDD Print MF Kyocera, the job log status must be set to Show all.
Configuration example in a ECOSYS M3655idn:
-20241220-121658.png?cb=01bc1049d4dc0f8532c0cdc01570a7e6)
Step 2: Add the printer for accounting
-
Under Quick actions, click on Add printer
-
Enter the device data
-
IP address
-
SNMP V1 or V2
-
Community: Enter the name of the SNMP community, which acts as a password for read or read/write access to the device.
-
public (generally used for read access).
-
private (generally used for read/write access).
-
-
-
-
Click on Add
Remove
-
Select the device(s) from the list
-
Click Remove
-
Click Yes to confirm deletion