-
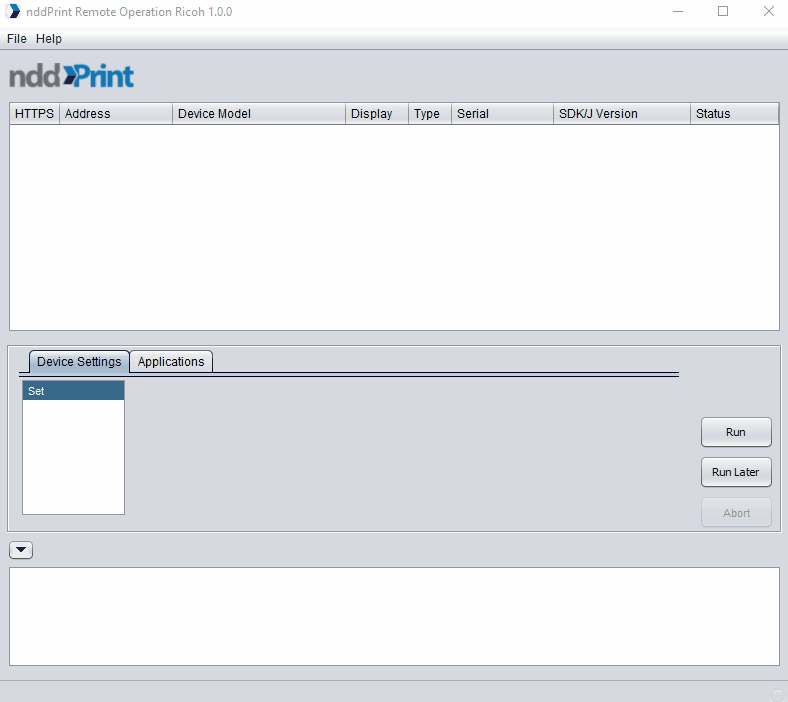
Run the NDD Print Remote Operation Ricoh tool
-
Check the desired app options (NDD Print Client and/or NDD Print Client Collector)
-
Click OK.
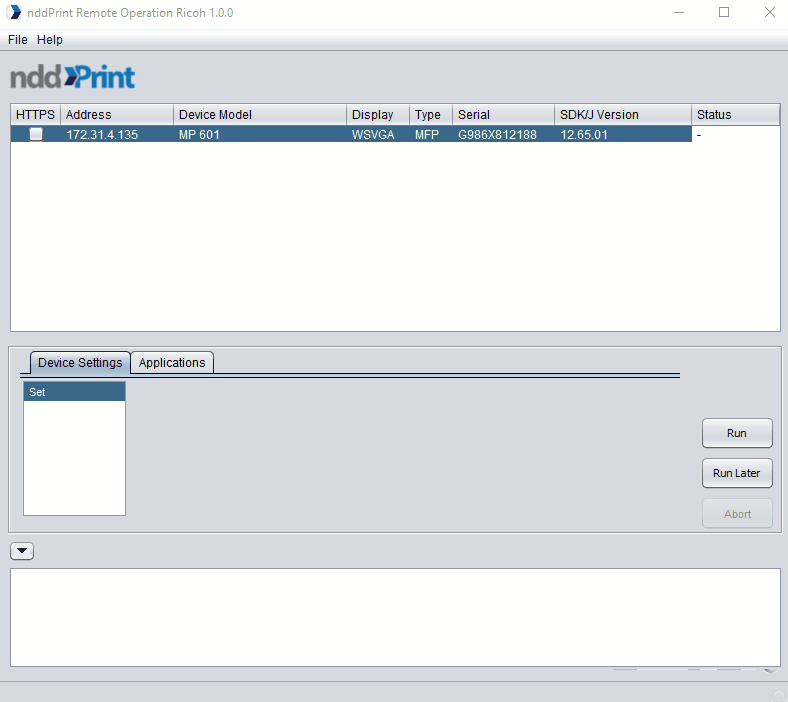
Add Equipment
-
Go to File
-
Add;
-
Address: enter the printer address (IP or Hostname) where the NDD Print solution will be installed;
-
WIM Admin: enter the printer administrator username;
-
Password: enter the printer administrator password;
-
Https: select the desired communication method (HTTP, HTTPS or Both)
-
Remote Install Password: enter the password defined on Web Installation Settings;
-
-
Click OK.
-
Right-click on the equipment;
-
Click Initialize.
If the password is not set, do not fill in the Remote Install Password field.
Prepare the equipment
-
Select the desired printer;
-
Go to Device Settings
-
Select Set;
-
Click Run;
-
Wait for the preparation process to finish.
Install application
Before beginning the NDD Print Client application installation process, it is needed to prepare the selected printer for the installation.
-
Select the desired printer;
-
Go to Applications > Install;
-
Select installation file;
-
Click Run;
-
Wait for the installation process to finish.
-
The preparation and installation process results are reported in the field Show logs or accessing the folder Debug Logs (File > Settings > Debug Logs);
-
Depending on the amount of printer, preparation/installation process may be slow. To minimize this possible slowness, it is possible to limit the number of processes (number of printer that will go through the preparation/installation process) by accessing the path File > Settings > Max Threads;
-
Printer list may be exported for future use (File > Export lst file).