This guide will show you how to configure Azure to integrate MS Entra ID with Portal 360.
After completing the settings below, you will have configured the Azure portal and will have the information necessary to register the Microsoft Entra ID domain with the NDD Print Portal Portal 360.
The permissions requested in this guide are necessary for subsequent mapping of attributes suggested on the screen for creating the domain integrated with MS Entra in Portal 360.
Access the Azure Dashboard
-
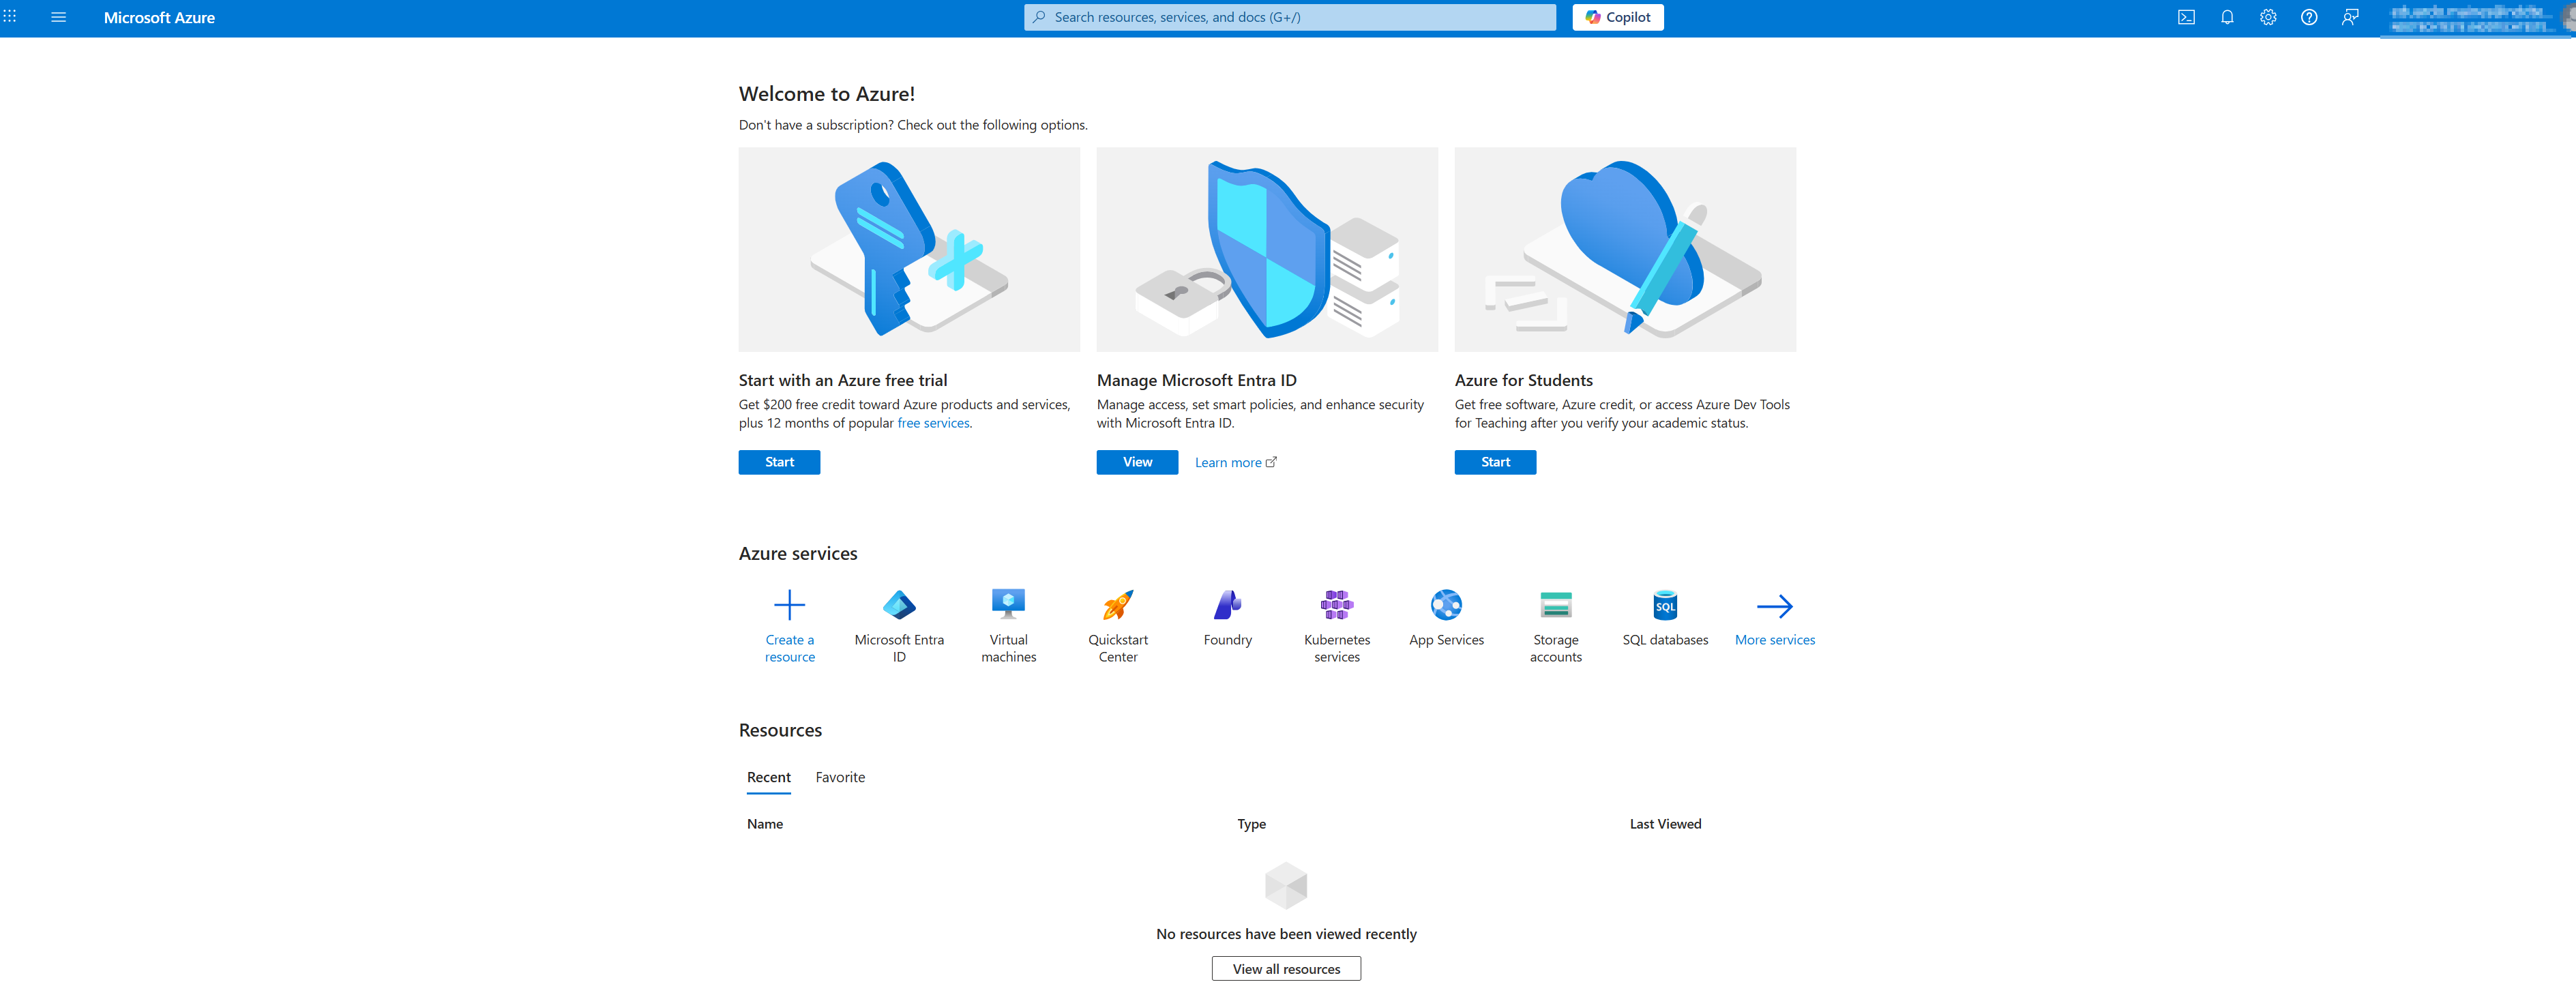
Log in to the Azure Portal and access the Home Page.
-
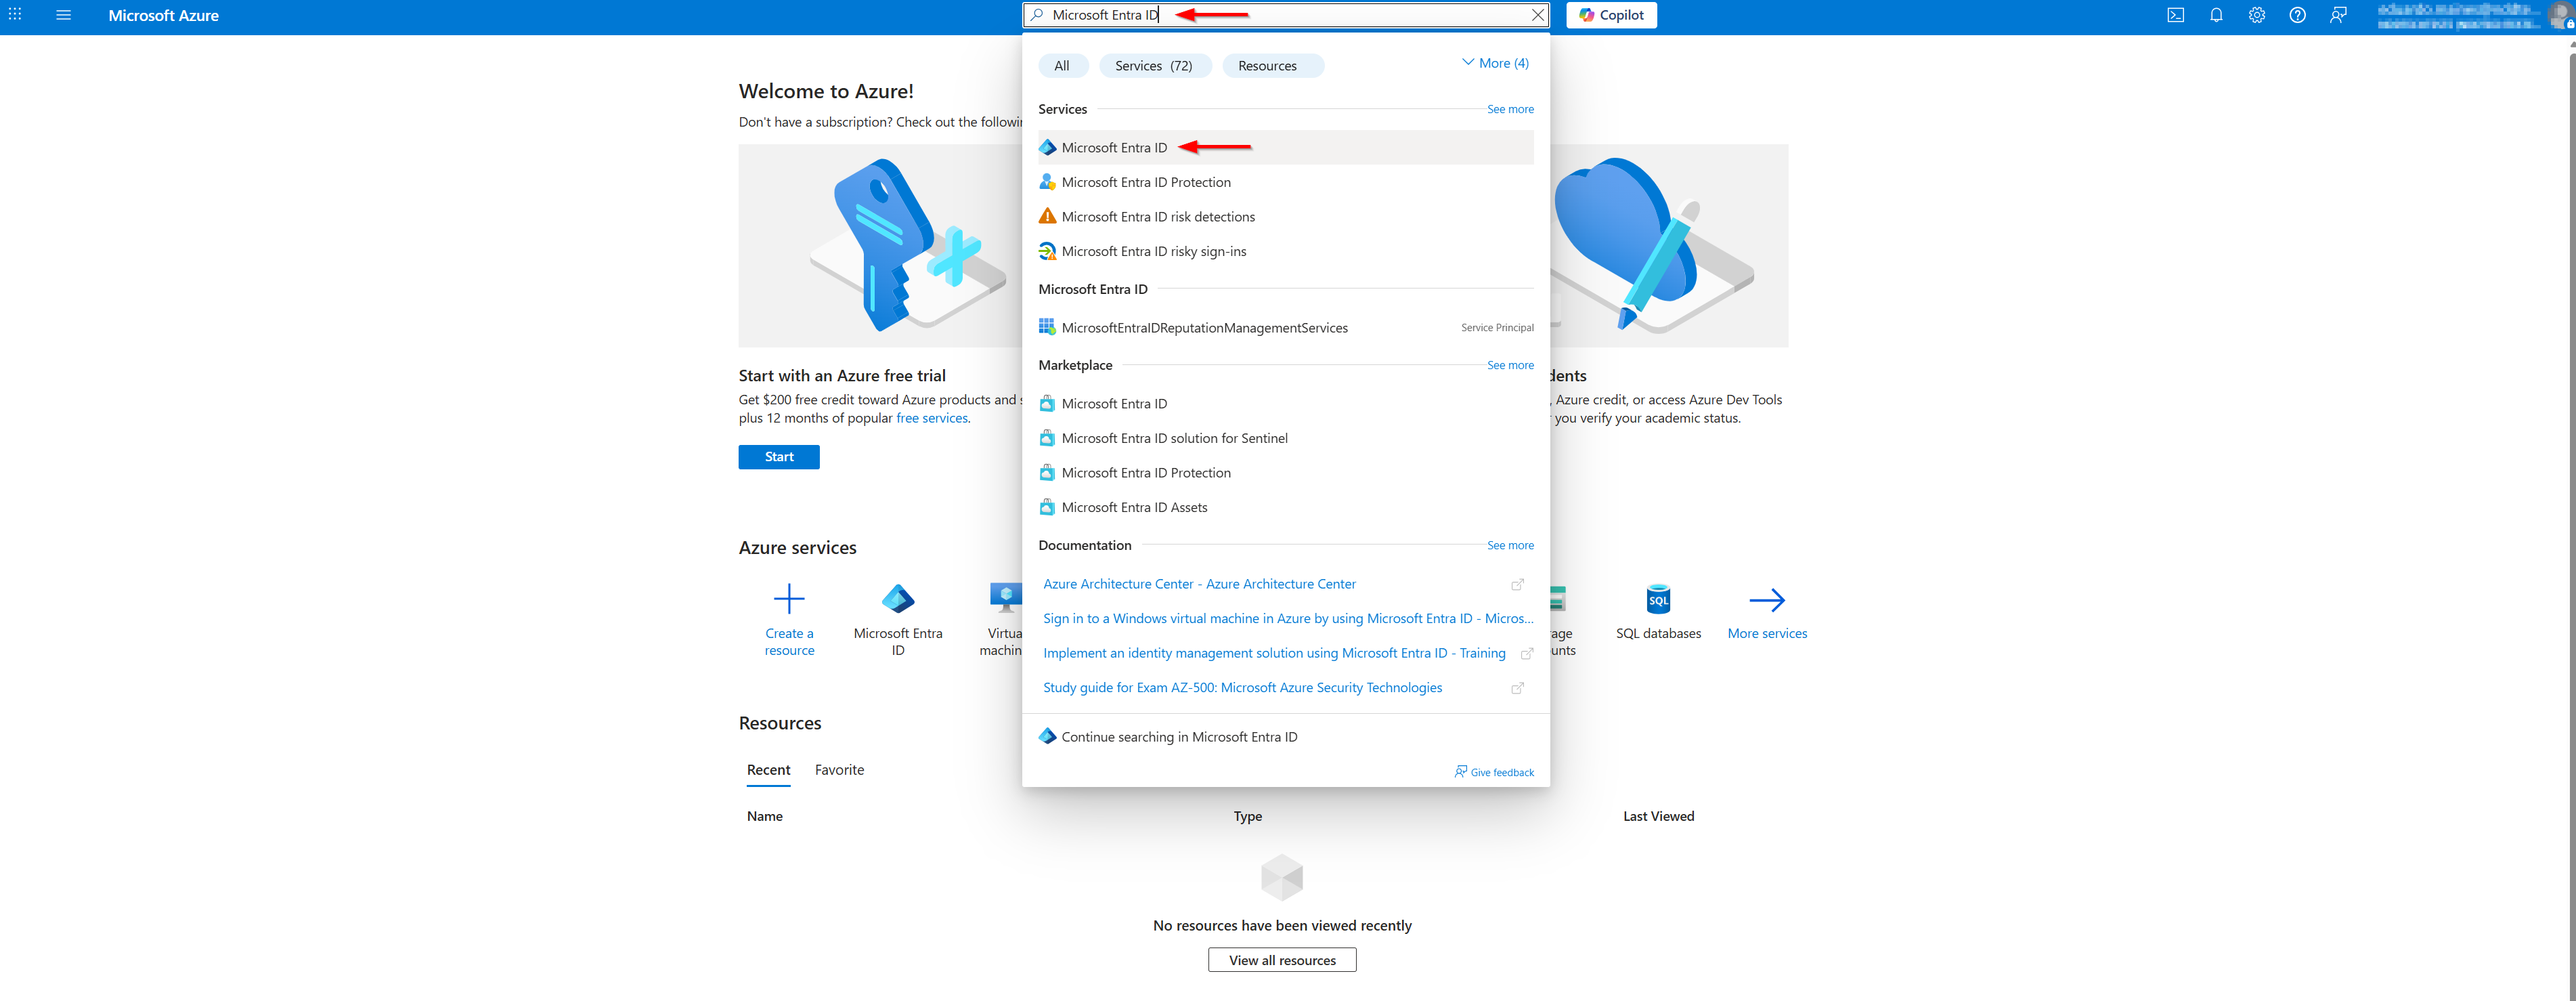
In the search bar, type ‘entra’ and select the Microsoft Entra ID option.
The account used to log in to Azure must have management permissions over the domain to be integrated.
-
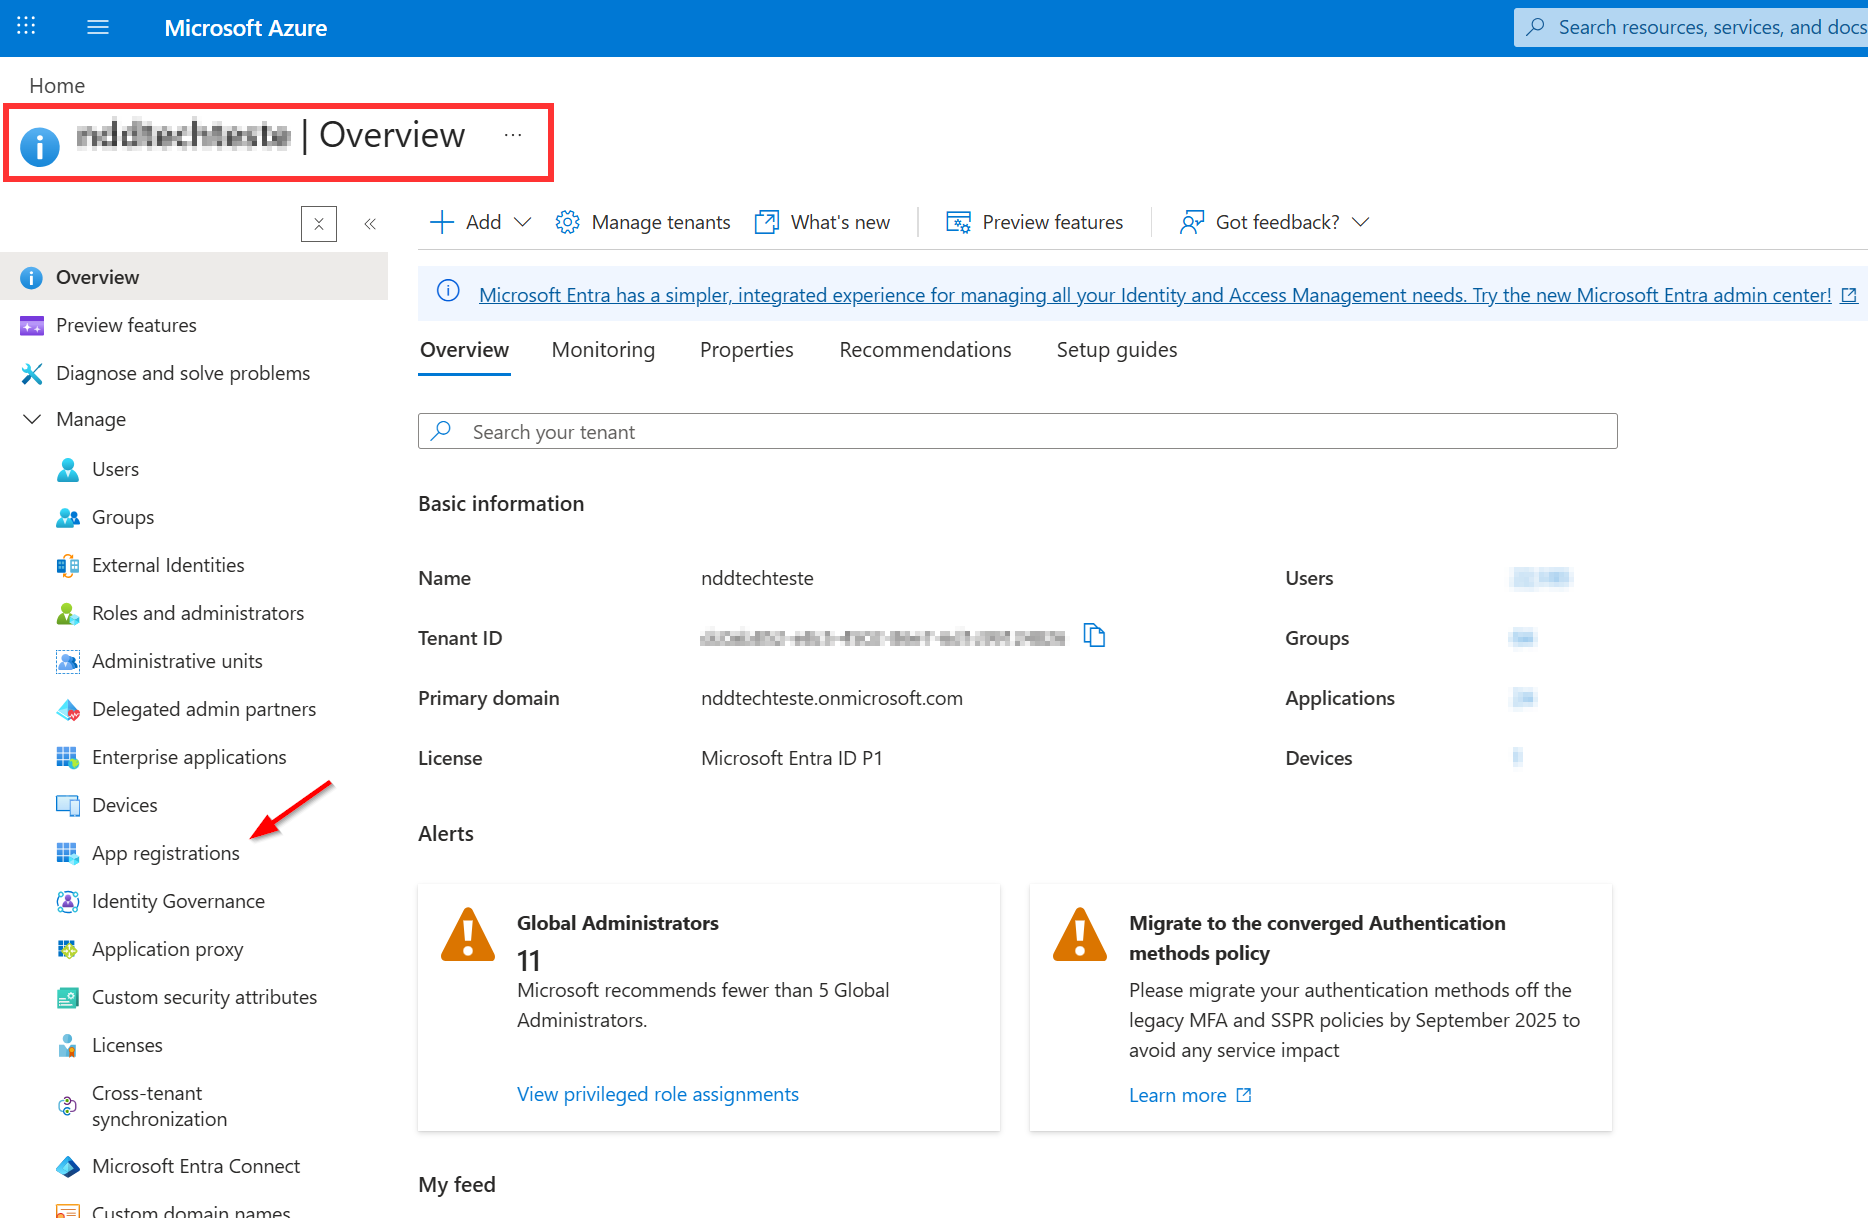
Go to the Users tab to verify that you are managing the correct domain.
Creating the Application
-
Within the settings of the domain to be integrated, in the side menu, search for and select ‘Application registrations’.
-
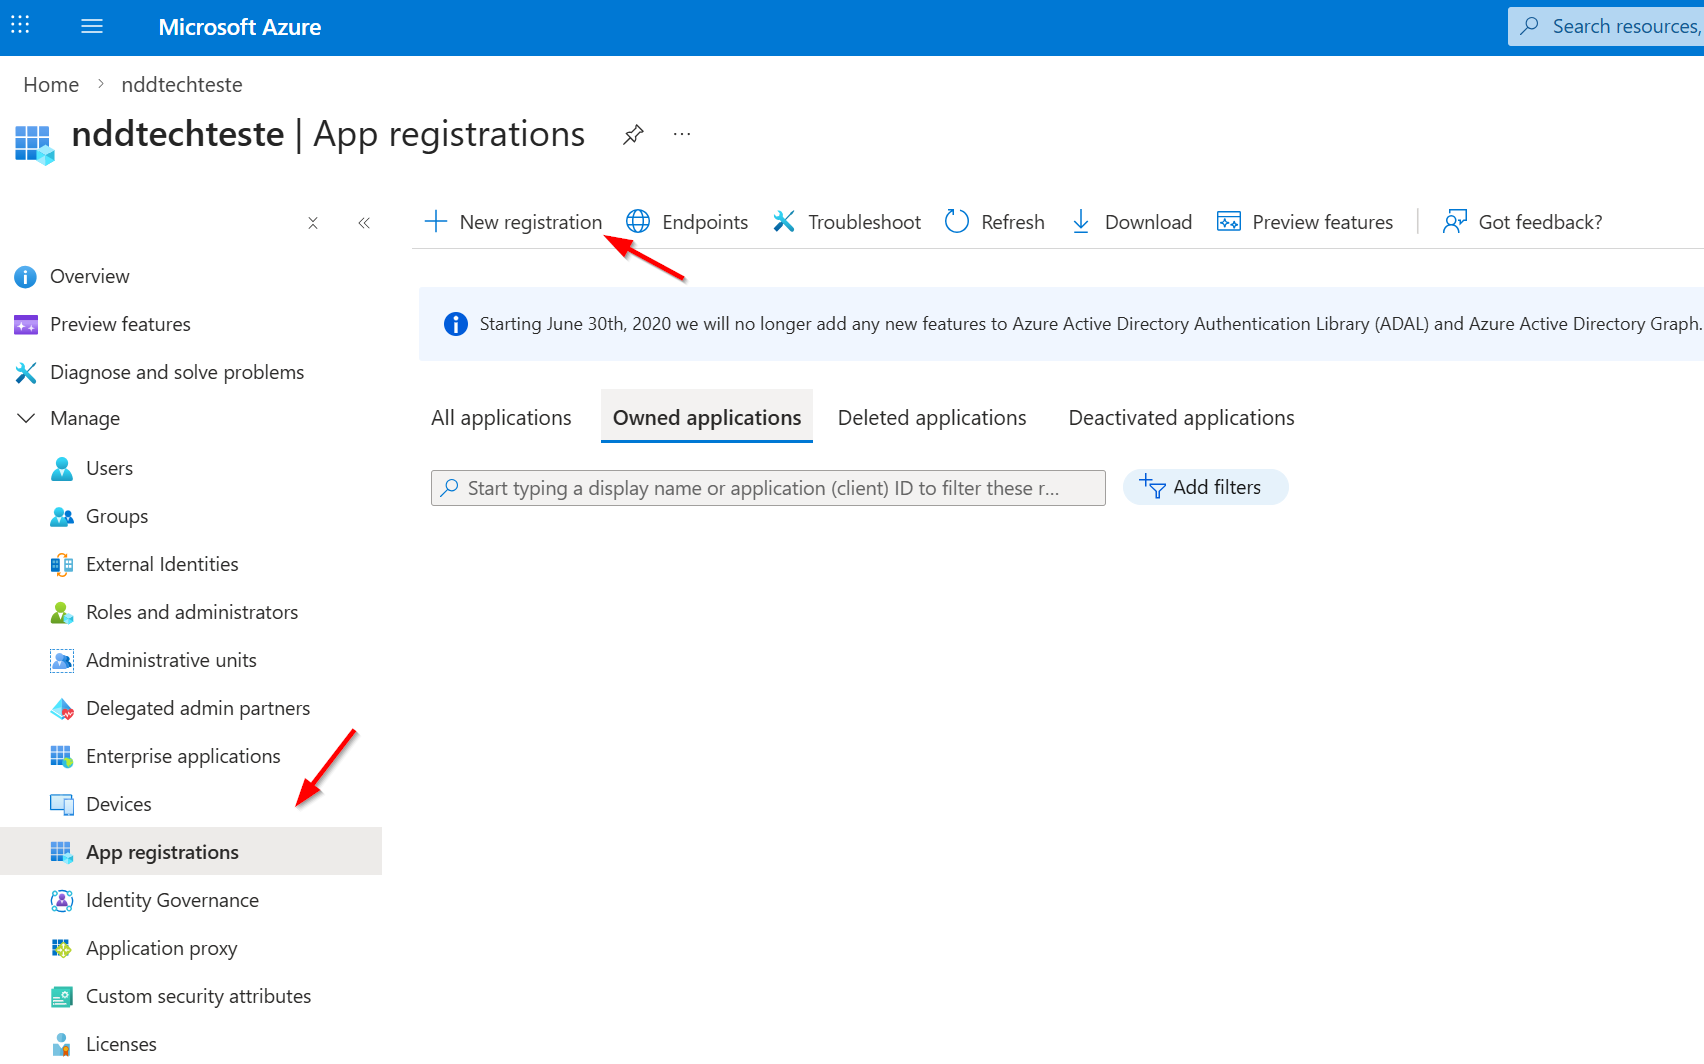
On the next screen, click ‘New registration’.
-
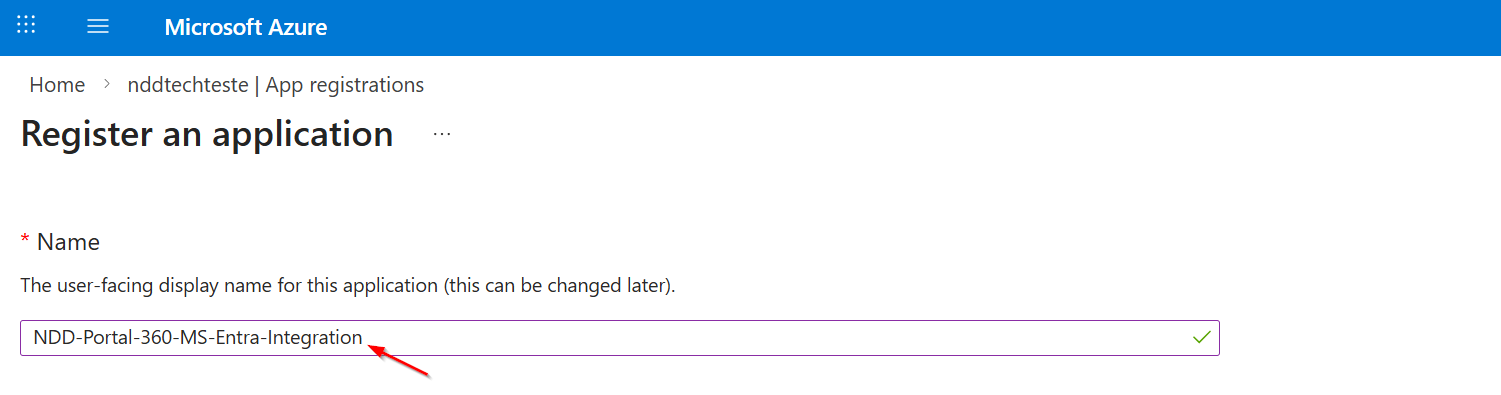
On the creation screen, provide a suggestive name for the application.
-
For supported account types, select the option indicated according to the context of your environment.
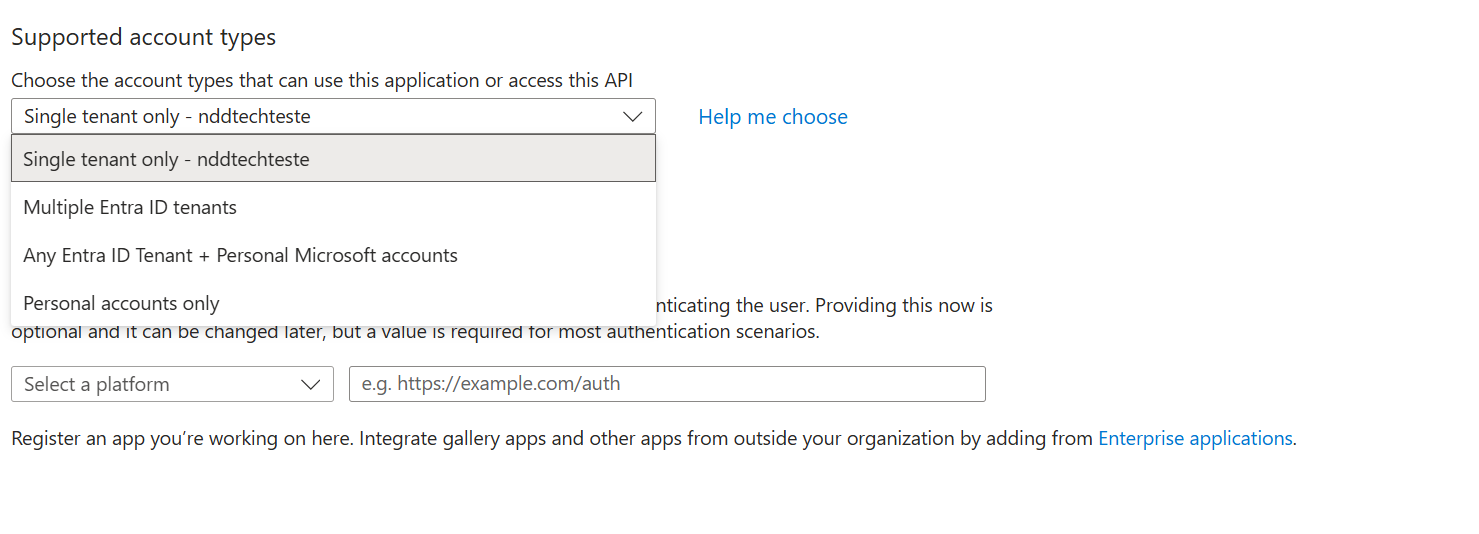
At this point, we will not configure the redirect URLs.
-
Click ‘Register’ to complete the creation.
-
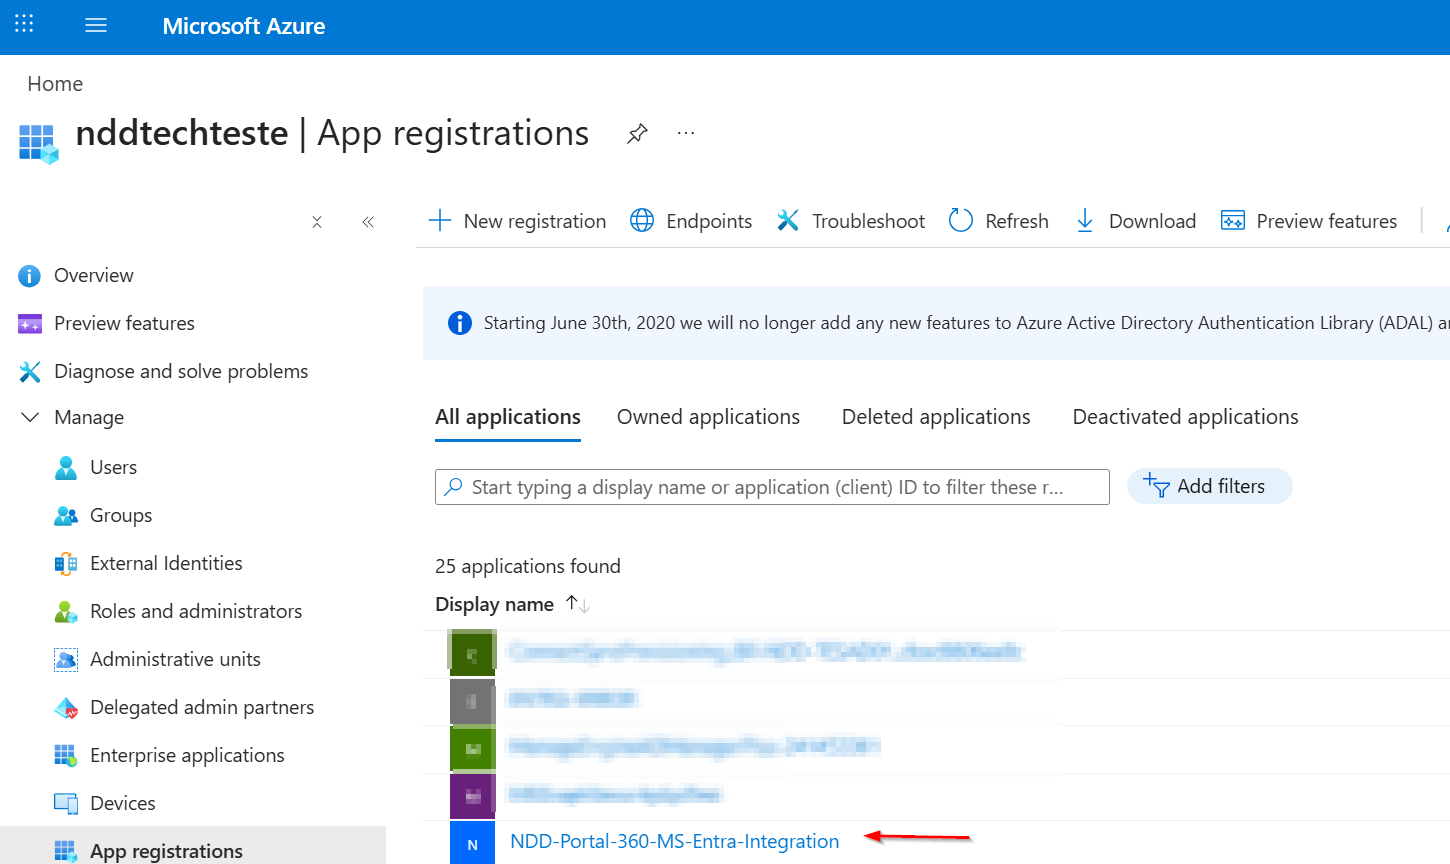
The newly created application will appear in the application list, as shown below:
Setting Application Permissions
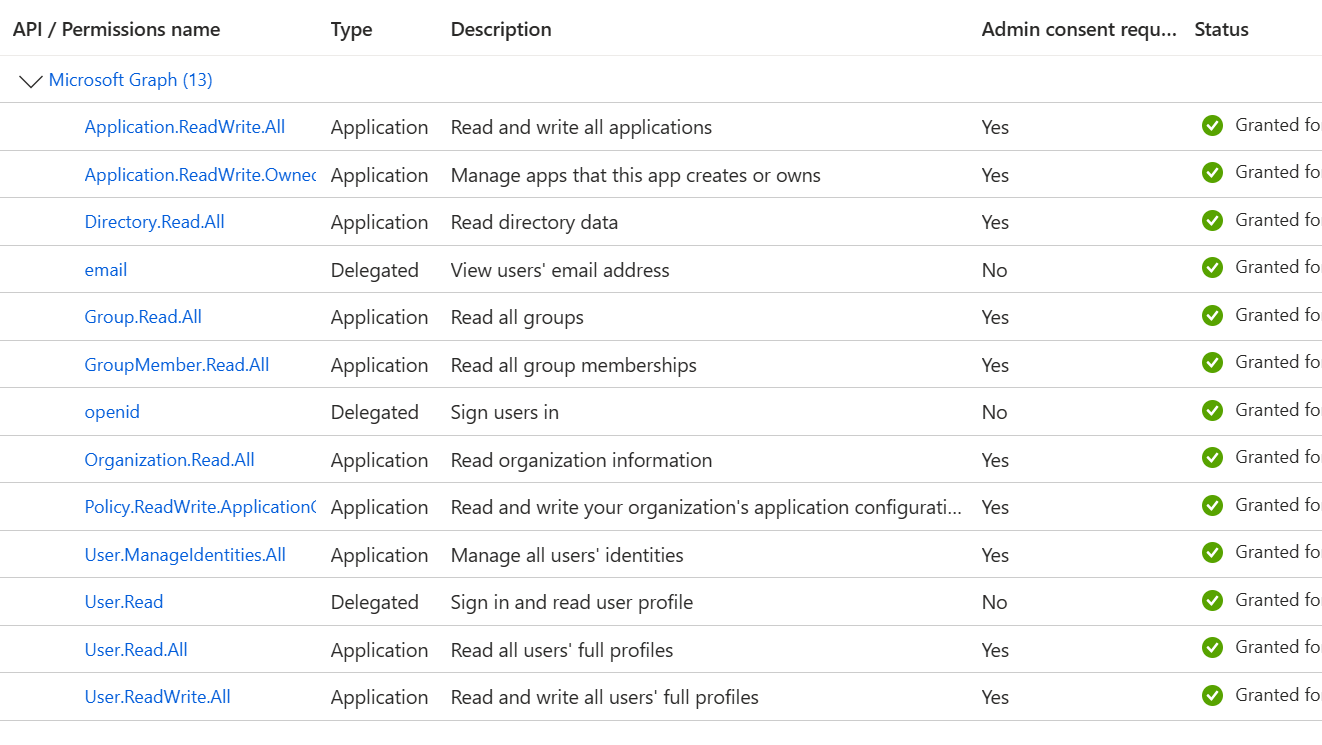
NDD Print Portal 360 will perform a data synchronisation with the MS Entra ID domain, using the newly created application. To do this, you will need to configure the appropriate permissions.
How to add new permissions:
-
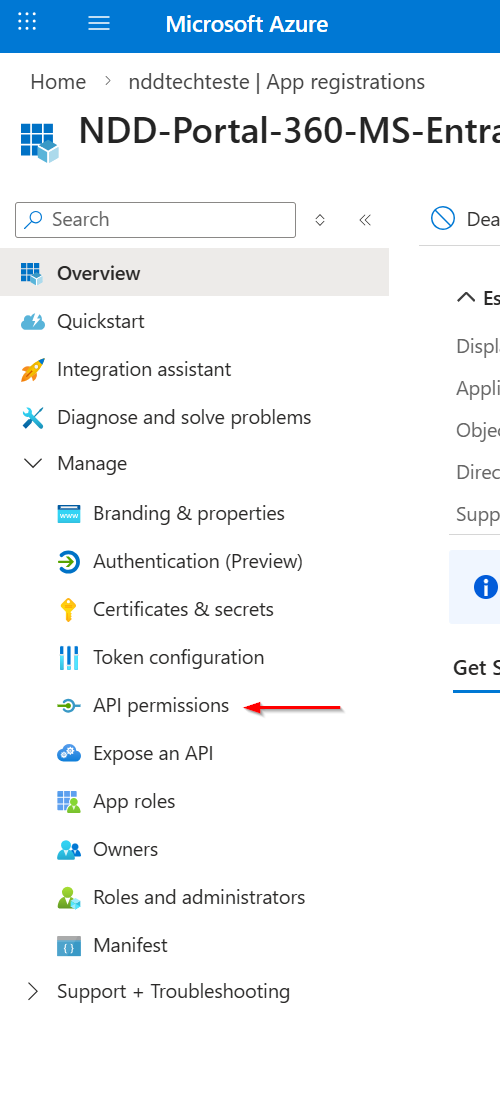
Access the application in the list.
-
In the side menu, select ‘API Permissions’.
-
Click on the ‘Add a permission’ button.
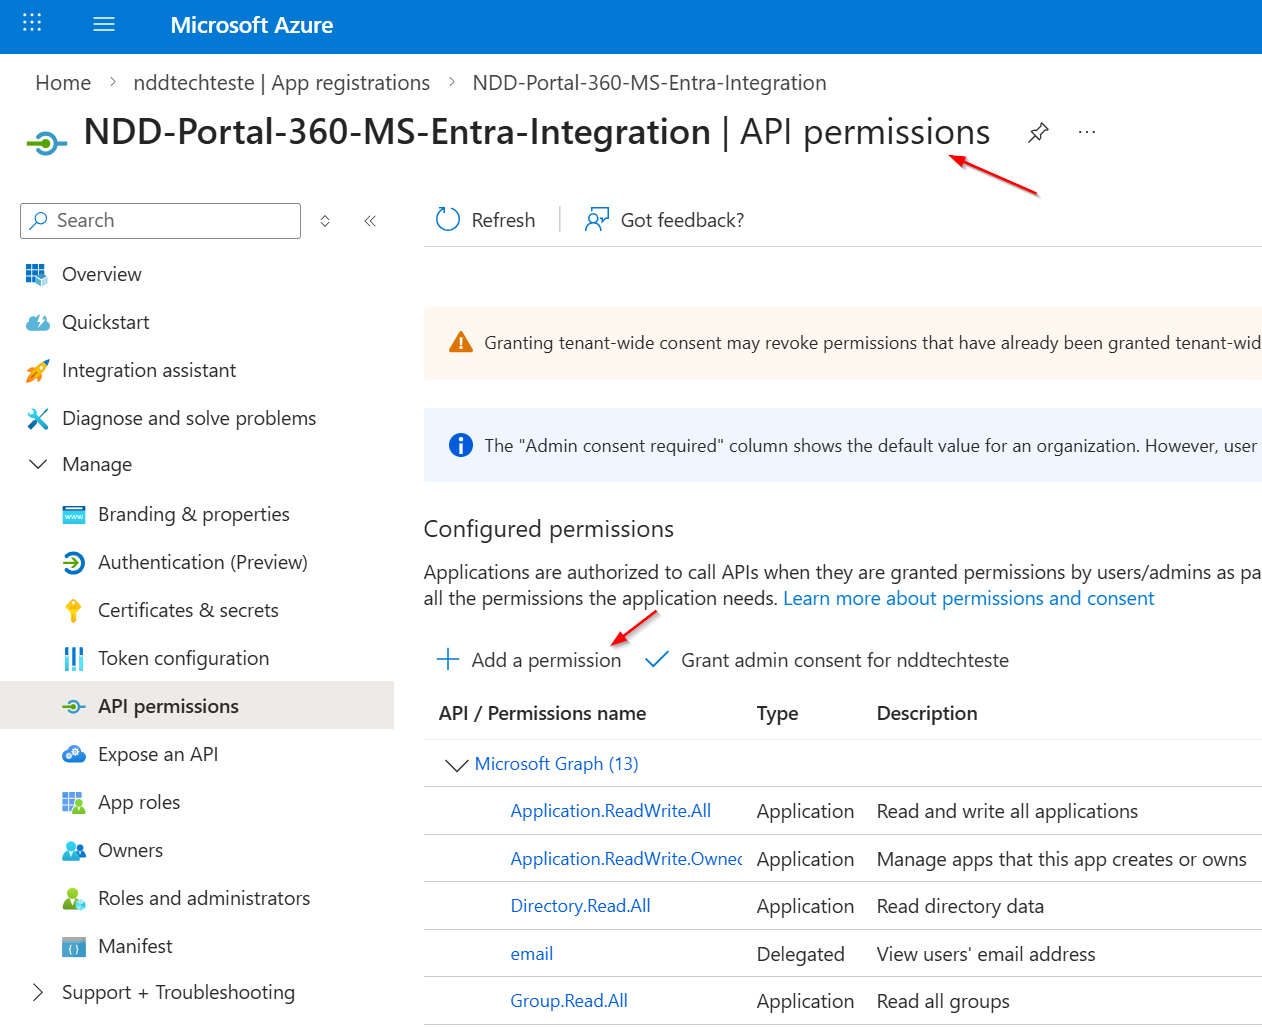
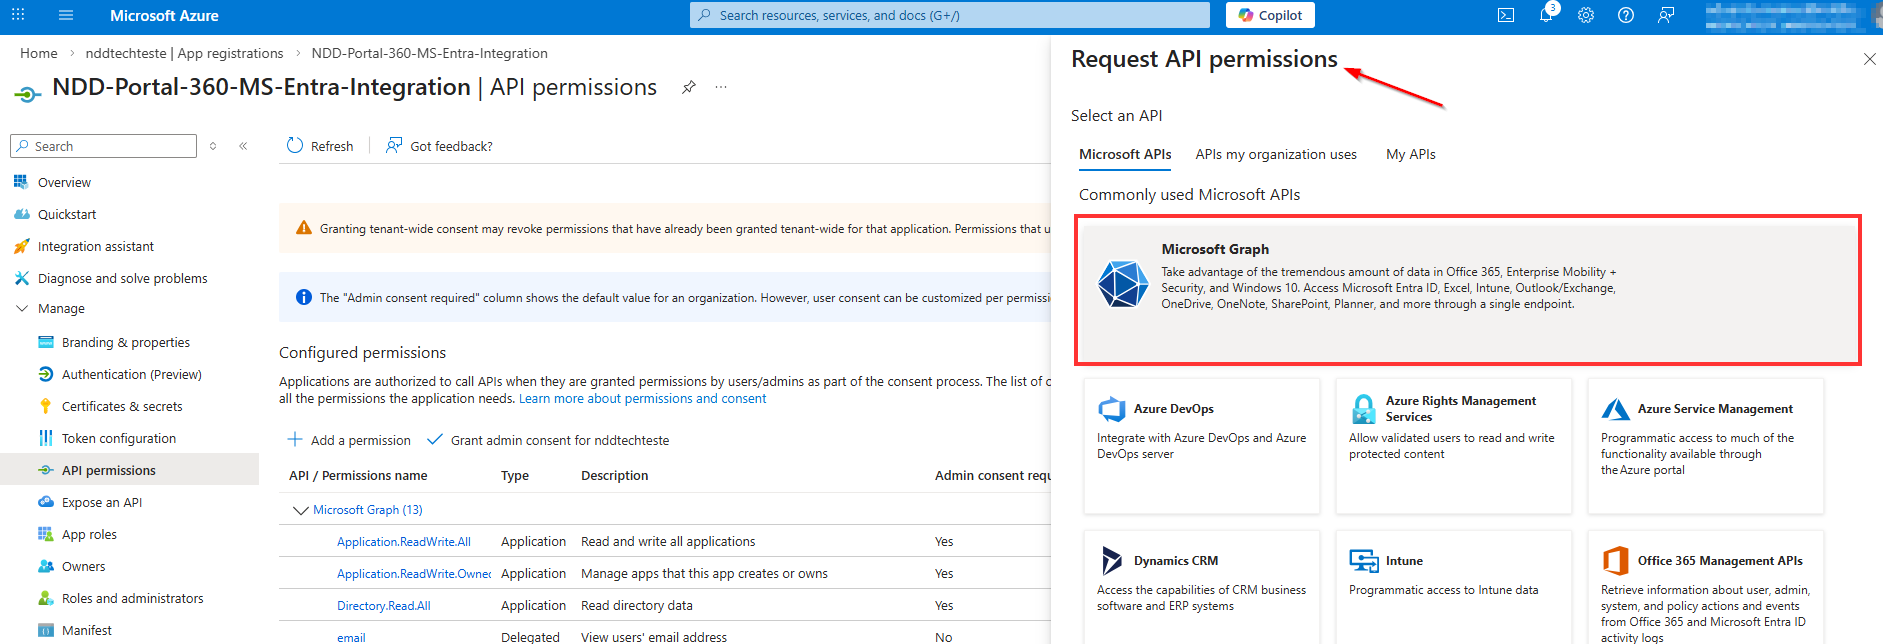
-
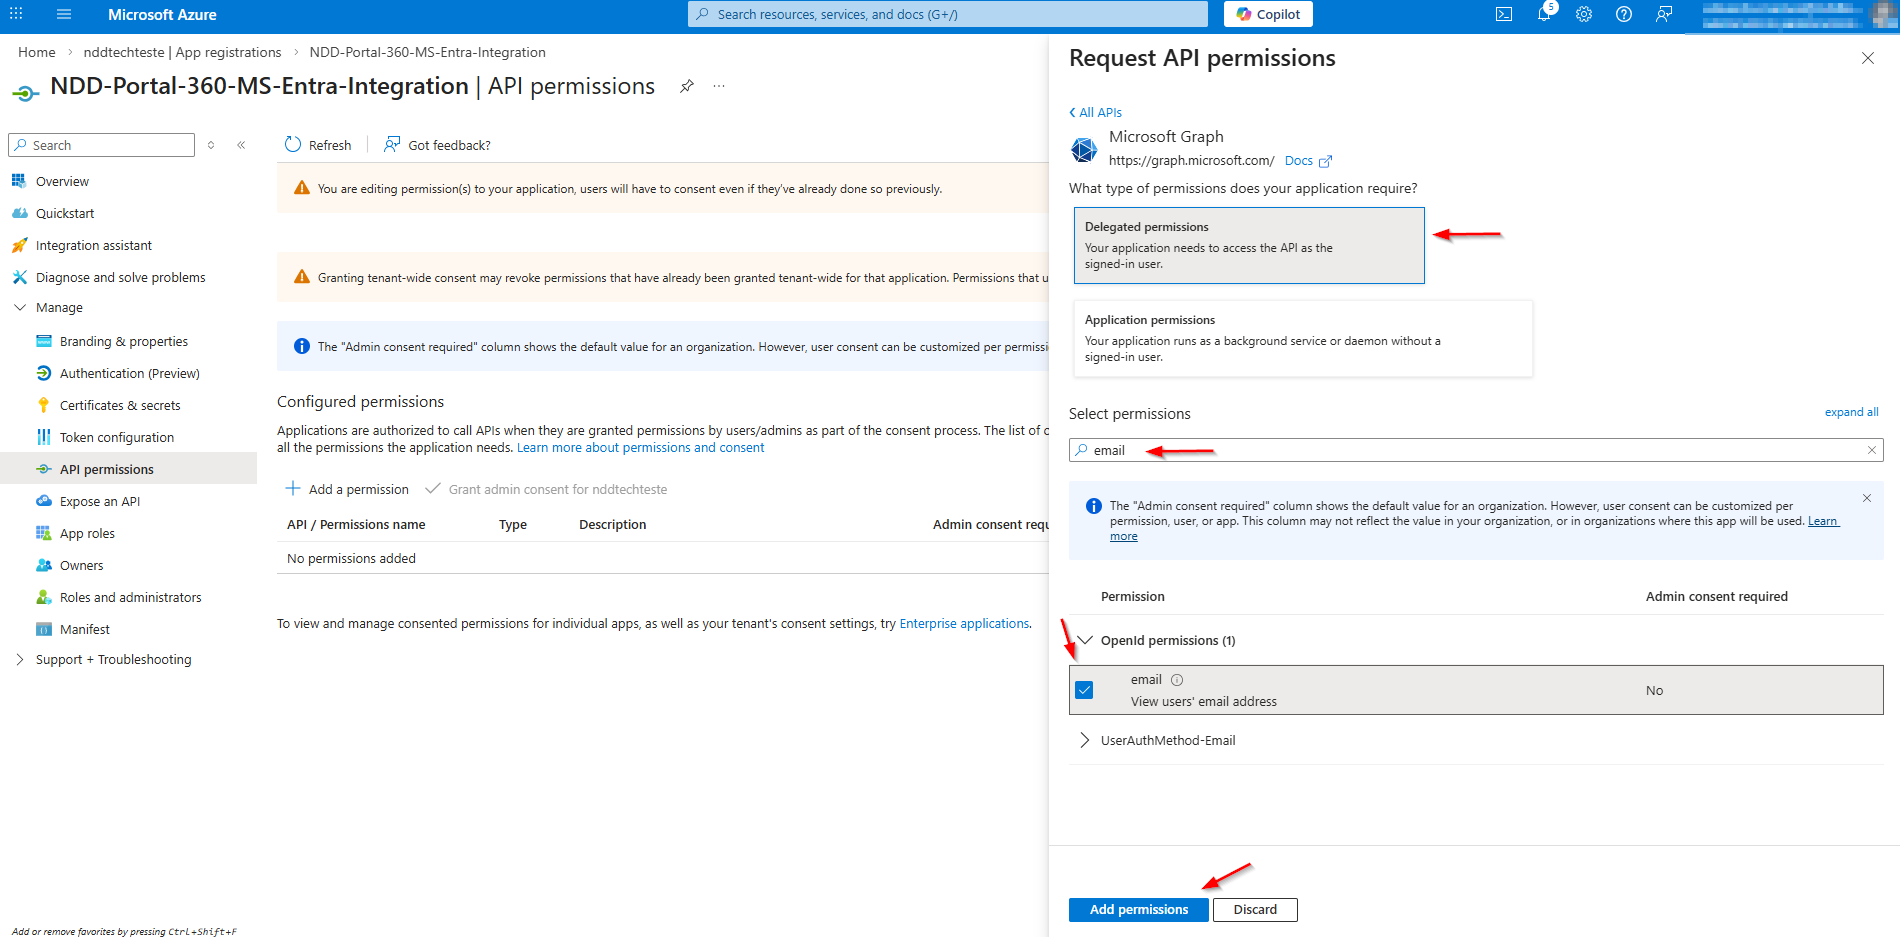
In the flyout that opens, select the ‘Microsoft Graph’ option.
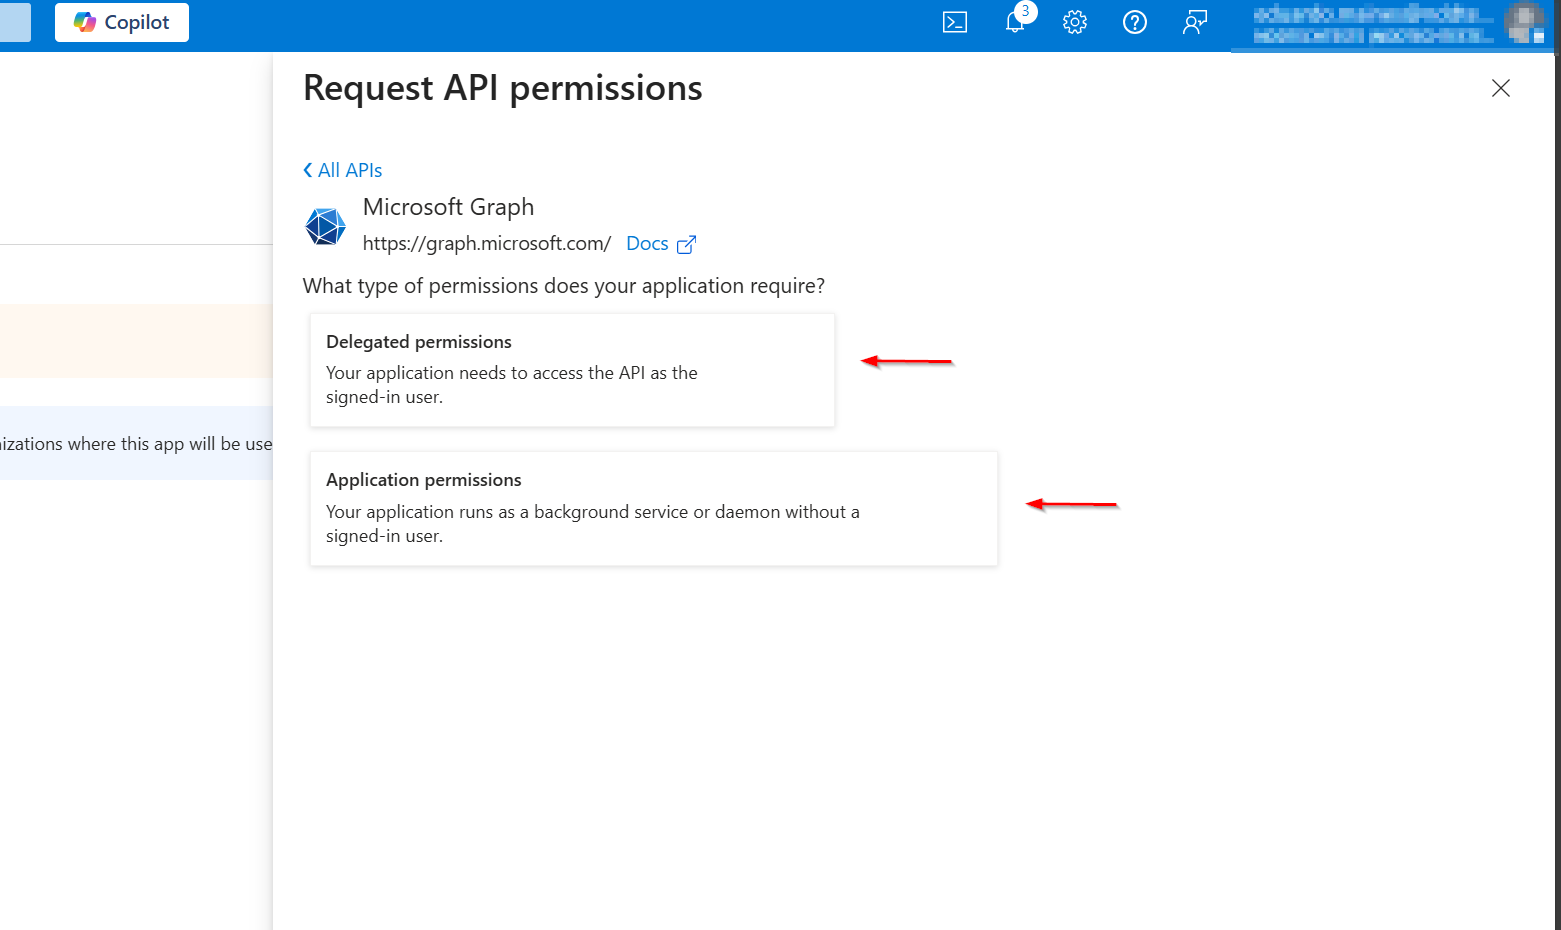
Selecting the type of permission:
-
The flyout will display two categories:
-
Delegated Permissions
-
Application Permissions
-
The choice depends on the permission to be configured:
-
If it is delegated, select Delegated Permissions
-
If it is application, select Application Permissions
-
After choosing the category, enter the name of the permission, select the corresponding checkbox, and click ‘Add Permissions’.
Administrator Consent:
-
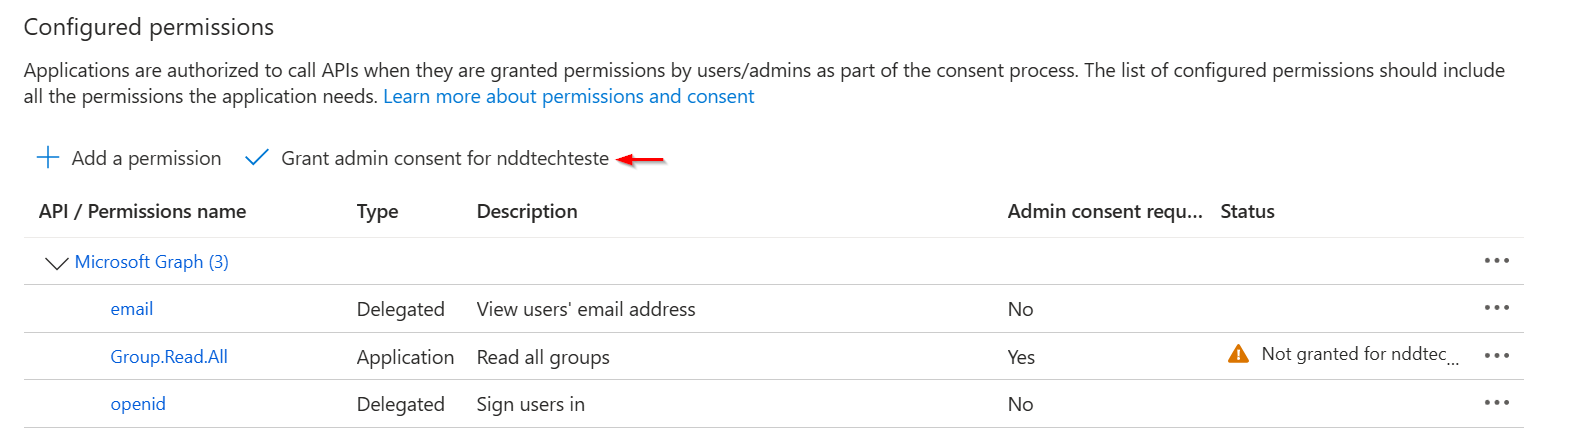
Some permissions require the consent of the administrator of the domain. These permissions will be highlighted in the list.

-
If your account has administrative privileges, the button will be displayed: ‘Grant administrator consent for [Domain Name]’. Click on it to complete the process:
Gathering Information for the 360 Portal
To complete the integration, you will need to gather the following information:
-
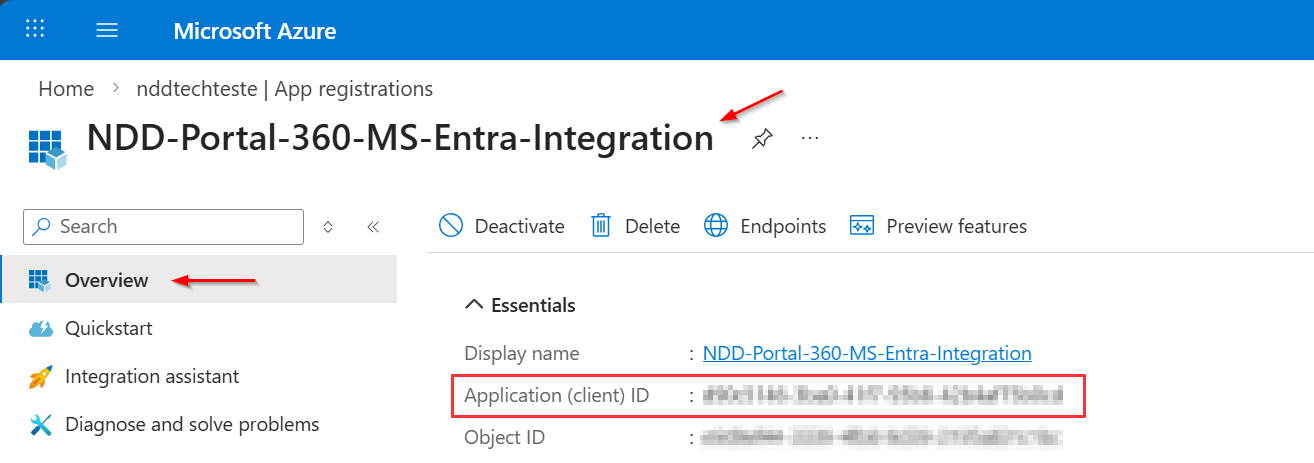
Application ID (Client)
-
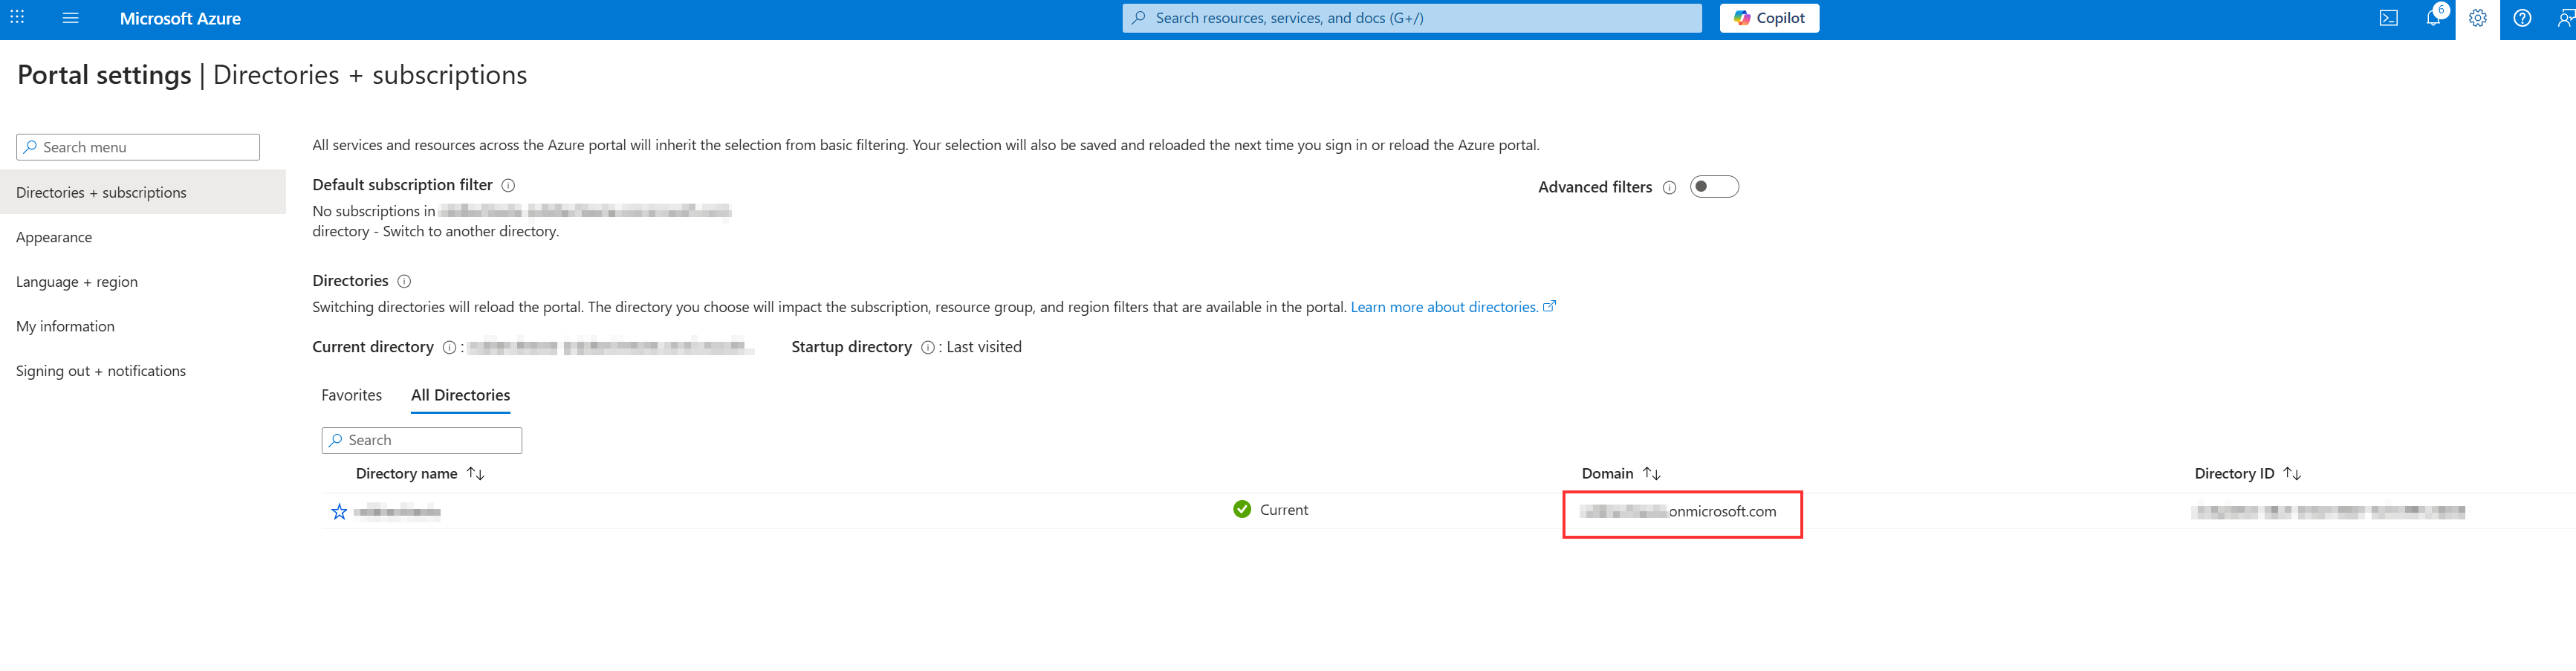
Application Domain
-
Directory ID (Tenant)
-
Client Secret
Obtaining the information
Application ID (Client):
-
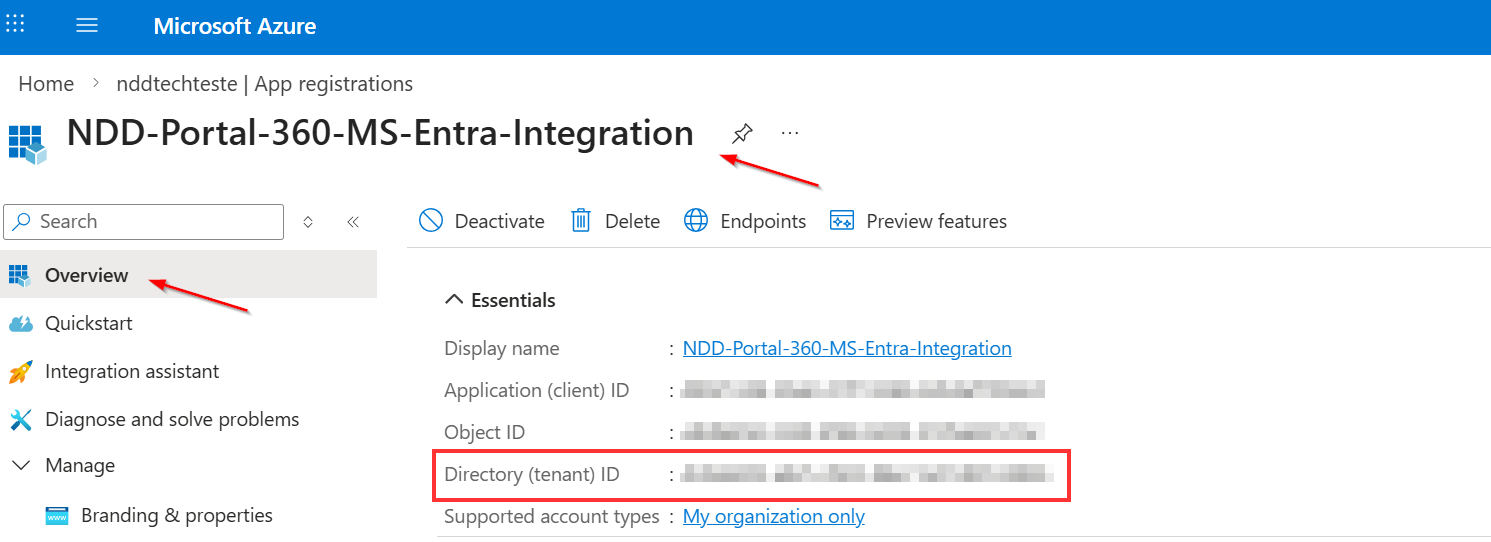
Go to the ‘Overview’ tab of the application.
Application Domain:
-
Find this information using the path shown in the application panel.
Tip: It is usually visible next to the tenant identifier and other basic information.

Next:
Directory ID (Tenant):
-
Also located in the ‘Overview’ tab of the application.
Client Secret:
-
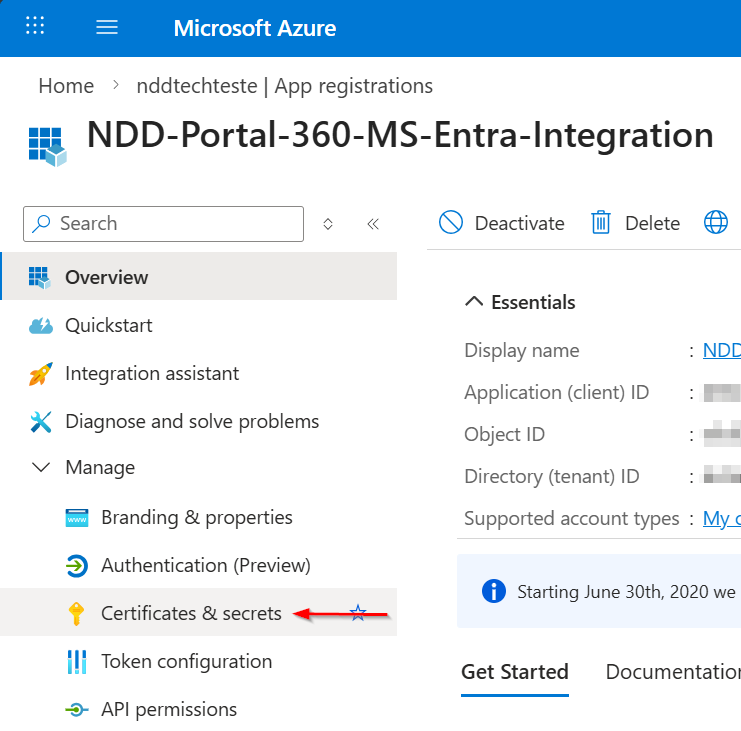
In the side menu, access the ‘Certificates and Secrets’ tab.
-
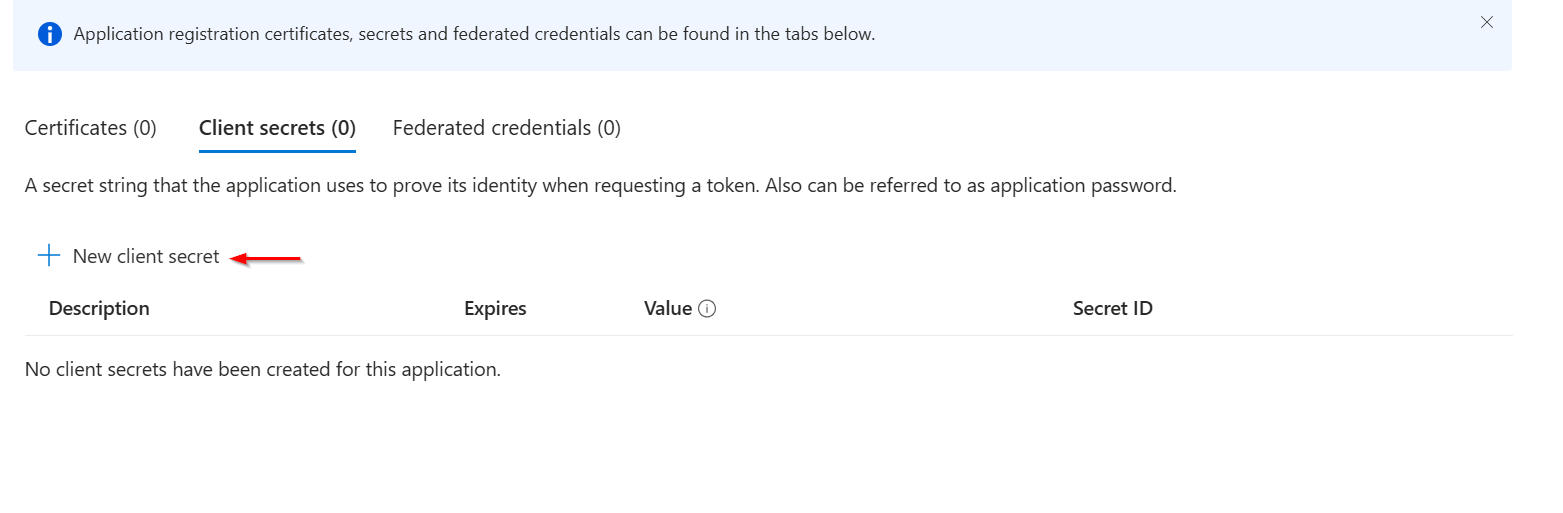
Click on ‘New Client Secret’.
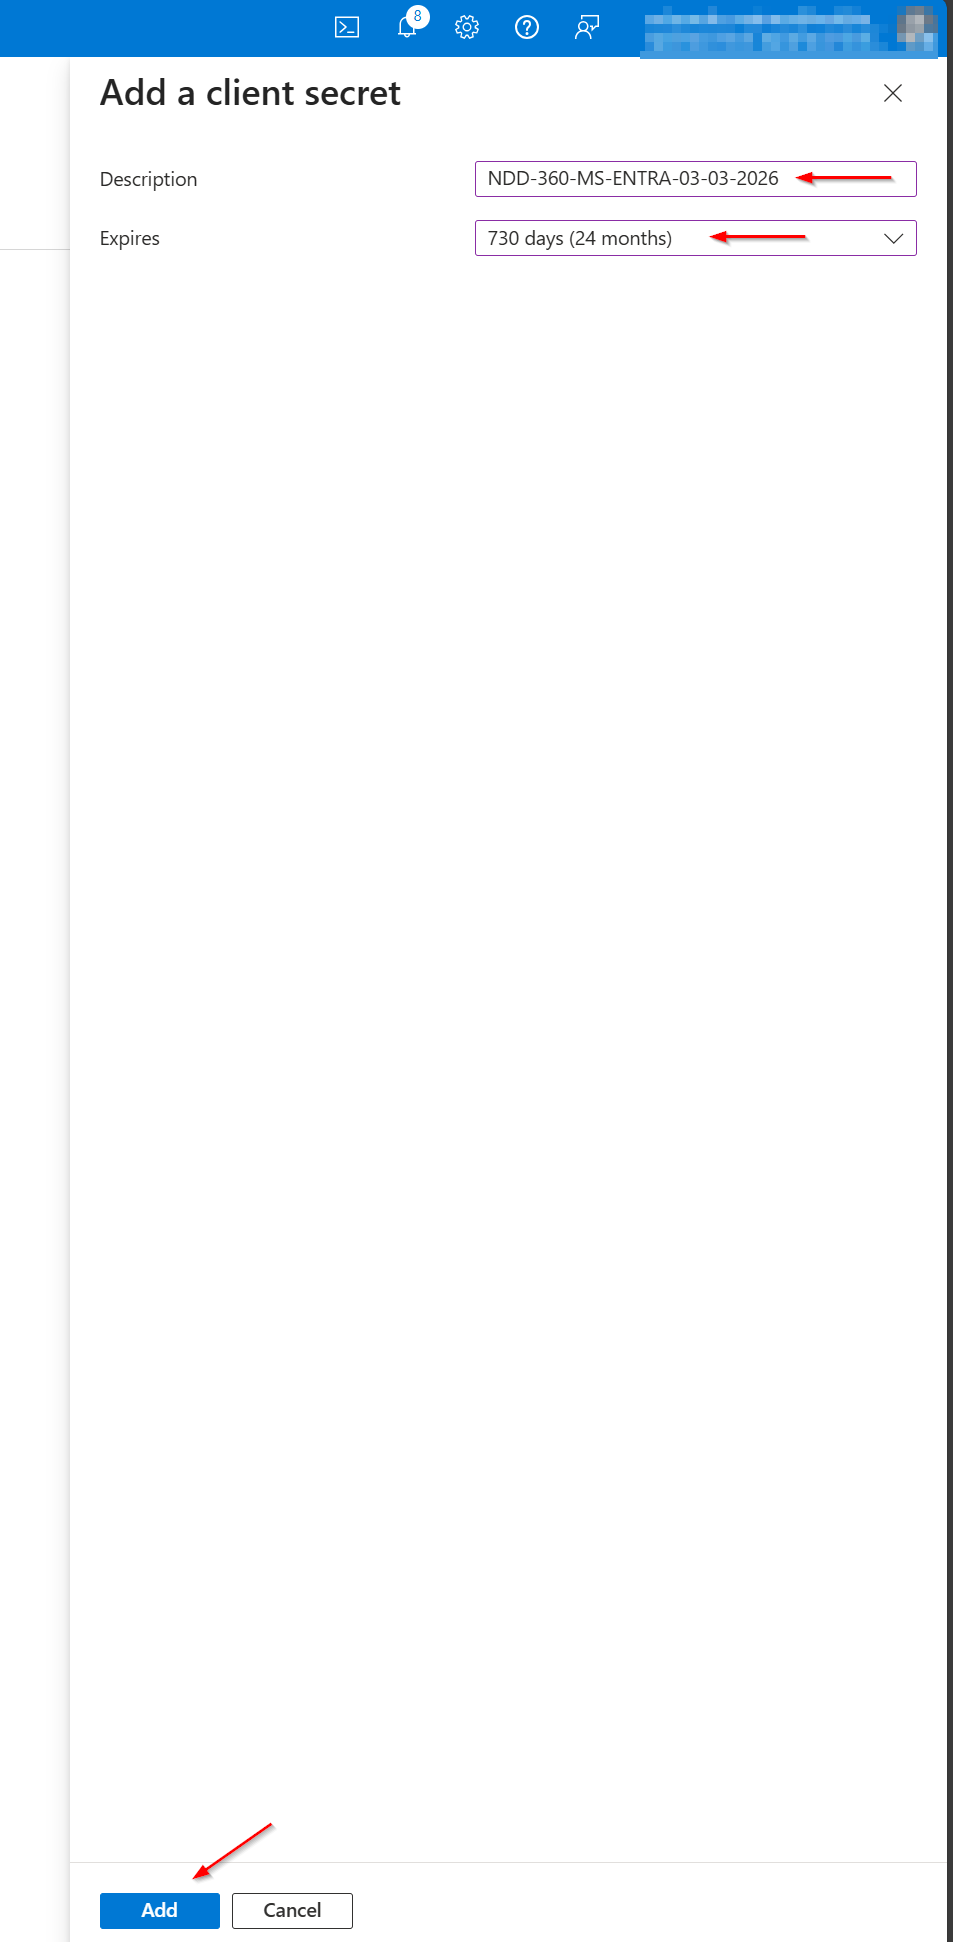
-
Add a descriptive name, choose the latest expiry date available and client in ‘Add’
-
The secret will be displayed in the list.
Copy the value using the button next to the secret.
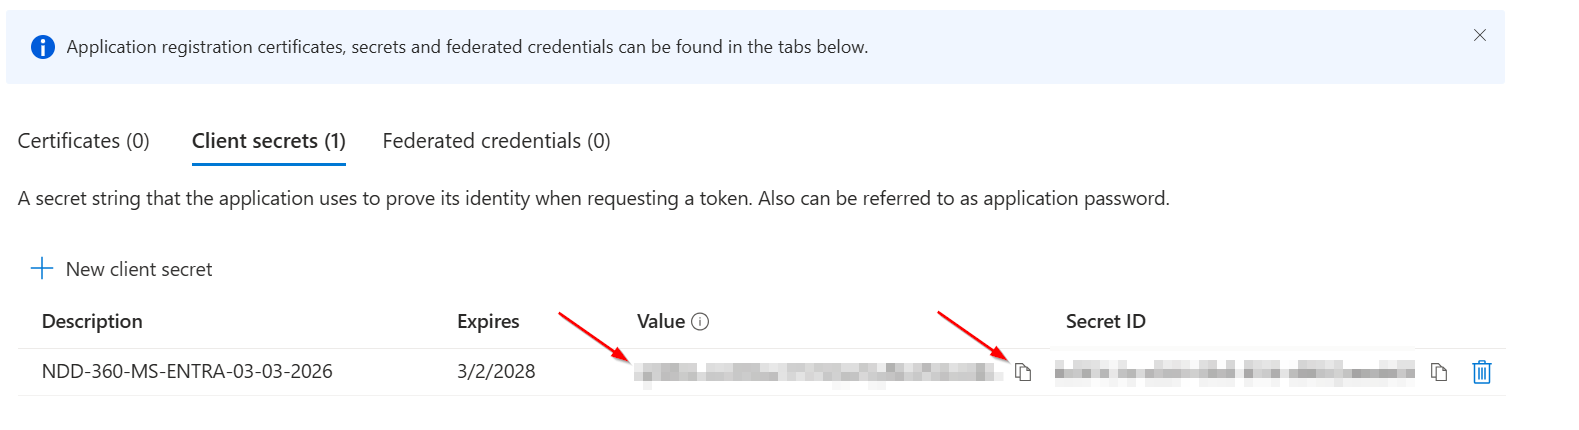
The secret value must be stored in a secure location and shared only with the necessary people.
If you need more information about application registrations in environments that use Azure AD,
follow the official link:
https://learn.microsoft.com/pt-br/entra/identity-platform/howto-create-service-principal-portal