In this article, you will learn how to configure the device to allow the Canon NDD Print Client to be initialized after authentication.
Before you start
-
This configuration must be carried out immediately after (Current-en) manual-nddprint-client-canon Installation of NDD Print Client Canon.
-
This configuration must be carried out before restarting the device.
-
On the printer screen, authenticate as the Administrator user
-
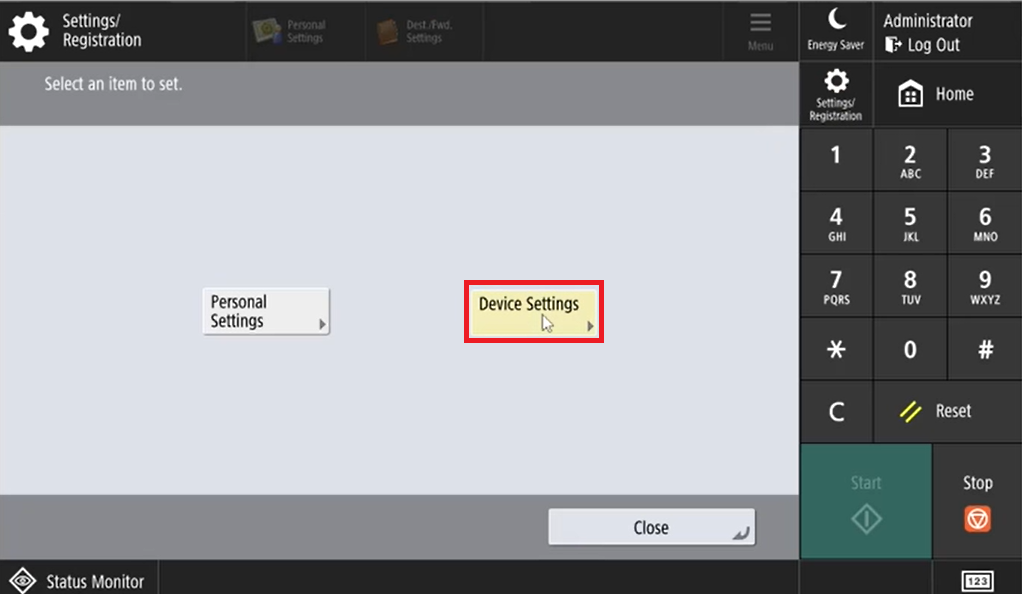
Click on Settings/Registration

-
Access Device Settings
-
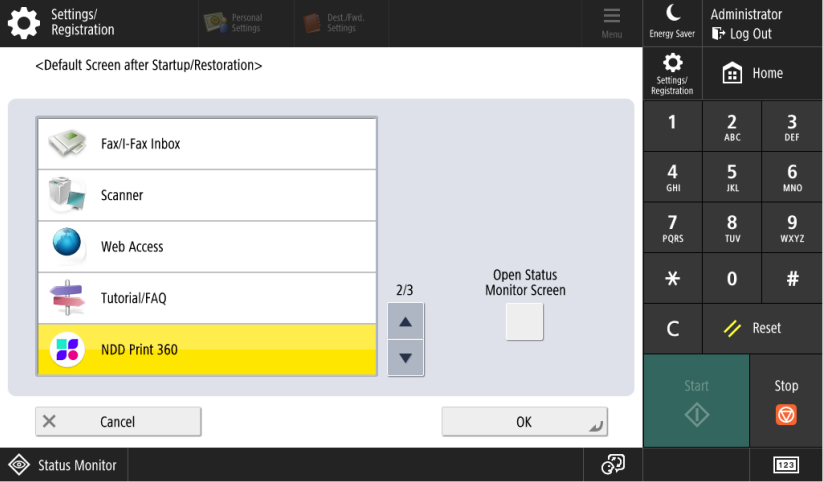
Click on Preferences > Display Settings > Default Screen after Startup/Restoration

-
Select the NDD Print 360 and click OK
-
In Settings/Registration
-
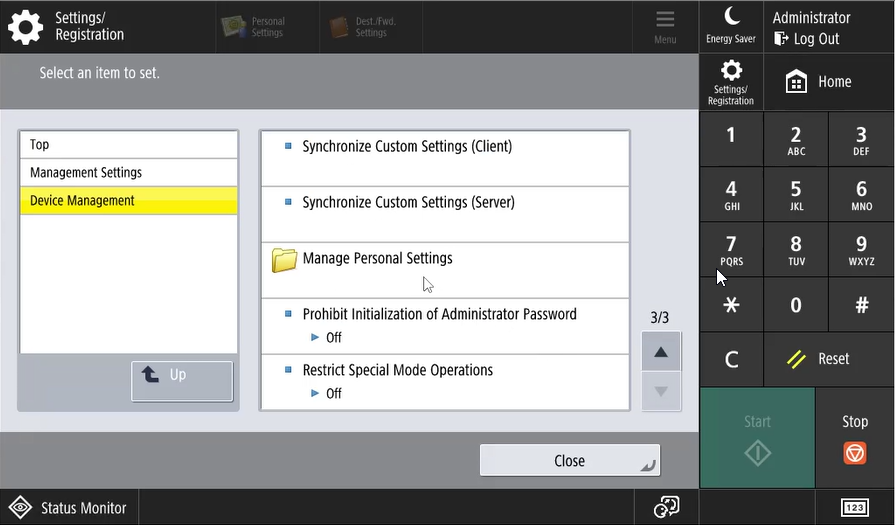
Access Management Settings > Device Management > Manage Personal Settings
-
Set up the options Use Default Screen After Startup/Restoration and Enable Use of Personal Settings to OFF

After installing the applications, restart the printer:
-
Return to the printer's web homepage by clicking To Portal in the top right corner
-
In the right sidebar, click on Settings/Registration
-
In the left sidebar, click the Restart Device button
-
Click the Perform Restart button
-
Click the OK button
Wait for the printer to restart to Configuring the NDD Print Client Canon.