-
By running the installer, a wizard will help you in the installation of the n-MF Lexmark. It's recommended that, during the installation, you close all other applications.
-
The wizard will ask you to choose the language of the installer. Choose which one you desire and click OK.
-
Following, the wizard will opens it's interface, click Install to start the installation process.

-
Next, it is necessary to set the directory address of where the n-MF Lexmark will be installed at. By default, it's suggested the directory: C:\Program Files\NDDigital\n-Billing\n-MF\Lexmark. After configuring the directory, click Next.

-
Set up the IP Address of where the n-Host or nddPrint Host is installed on. Type in the IP Address of the server and click Next. If the Host is installed in the same server as the n-MF, this interface won't be shown.
-
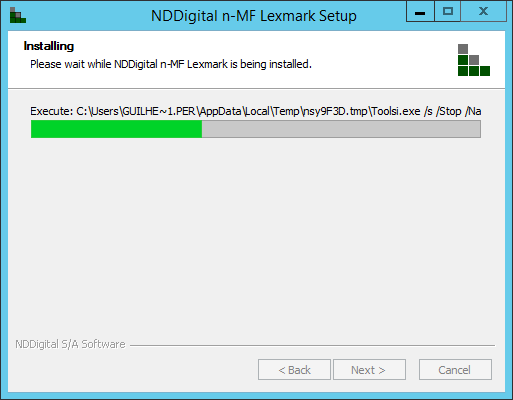
The next interface will exhibit a summary of the installation. In this point it's possible to return and change the settings. If you agreed with the current settings, click Install to proceed with the installation.

-
Once finished, click "Finish" to close the wizard.