NDD Print products write and send logs to the locations specified by each module. These logs are interpreted and viewed by the tracing software. The software saves the logs in .log files that are stored in the same directory as the executable, every 50,000 lines written (provided the software remains open). Each log file will be a maximum of 5 MB in size and must be deleted manually if necessary. NDD Print Tracer automatically detects all installed and compatible modules on the server.
Enable and collect traces
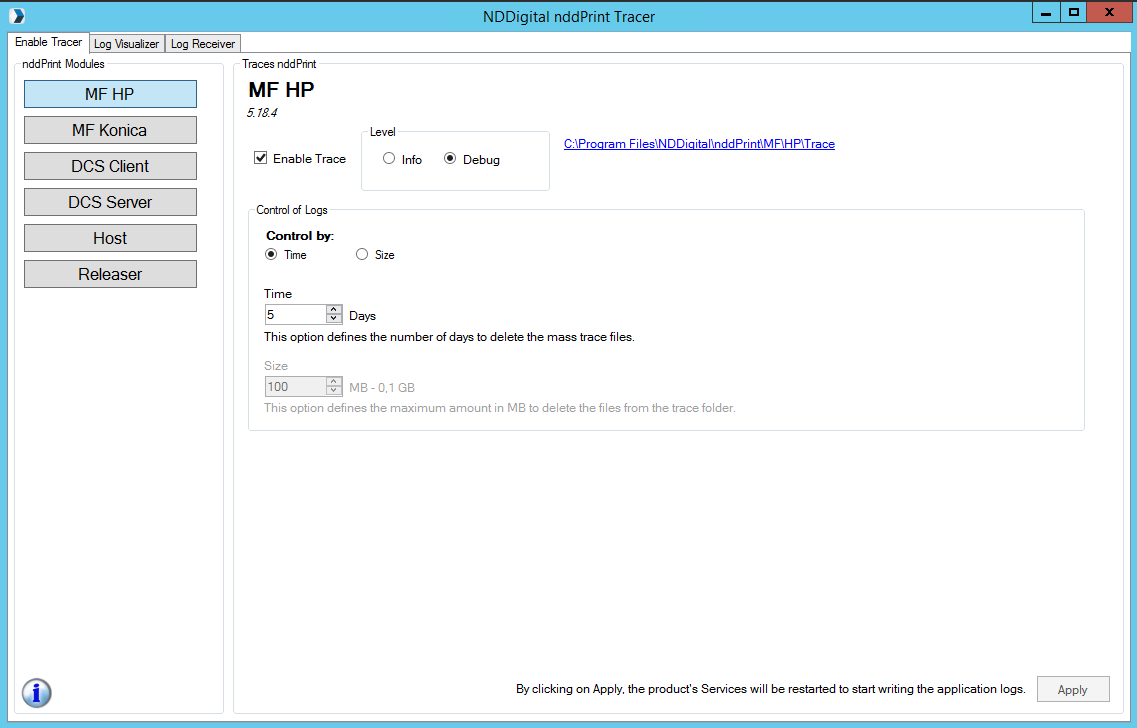
On the Enable Tracer tab, select the module you want to enable, check the Enable Traces option, and click the Apply button. The module's services will be restarted, and once the success message appears, the traces will be active.
To access the traces, click the link next to the “Apply” button and set the level:
-
Info: steps performed by the system
-
Debug: a detailed breakdown of the steps performed by the system
Log management
-
Time: This option sets the number of days after which batch tracking files will be deleted;
-
Size: This option sets the maximum quantity in MB for files in the tracking folder to be deleted.
After enabling traces, access the Log Receiver tab and enter the address of the equipment to be monitored by clicking Add New Tab.
After that, access the new tab (address of the added equipment) and review the logs; you can use the filters to view the information in the most effective way possible.
Open log file
After enabling logging on the initial screen, access the Log Viewer tab. Click Search File to select the desired log file. Use the filters to view the information in the most effective way possible.